
As promised here is my new tutorial for a Tudor rose inspired fabric flower brooch. I have made a few of these so far and really like them. They will make a great accent to your everyday wardrobe as well as your faire or festival costumes.

Materials needed:
thread and needle
fabric glue
Fray check (optional)
1 – felt circle about 1.5″ in diameter
1 – button or rhinestone 7/8″
1 – pin clasp
5 – 3″x3″ fabric squares
5 – 2″x2″ fabric squares
Instructions: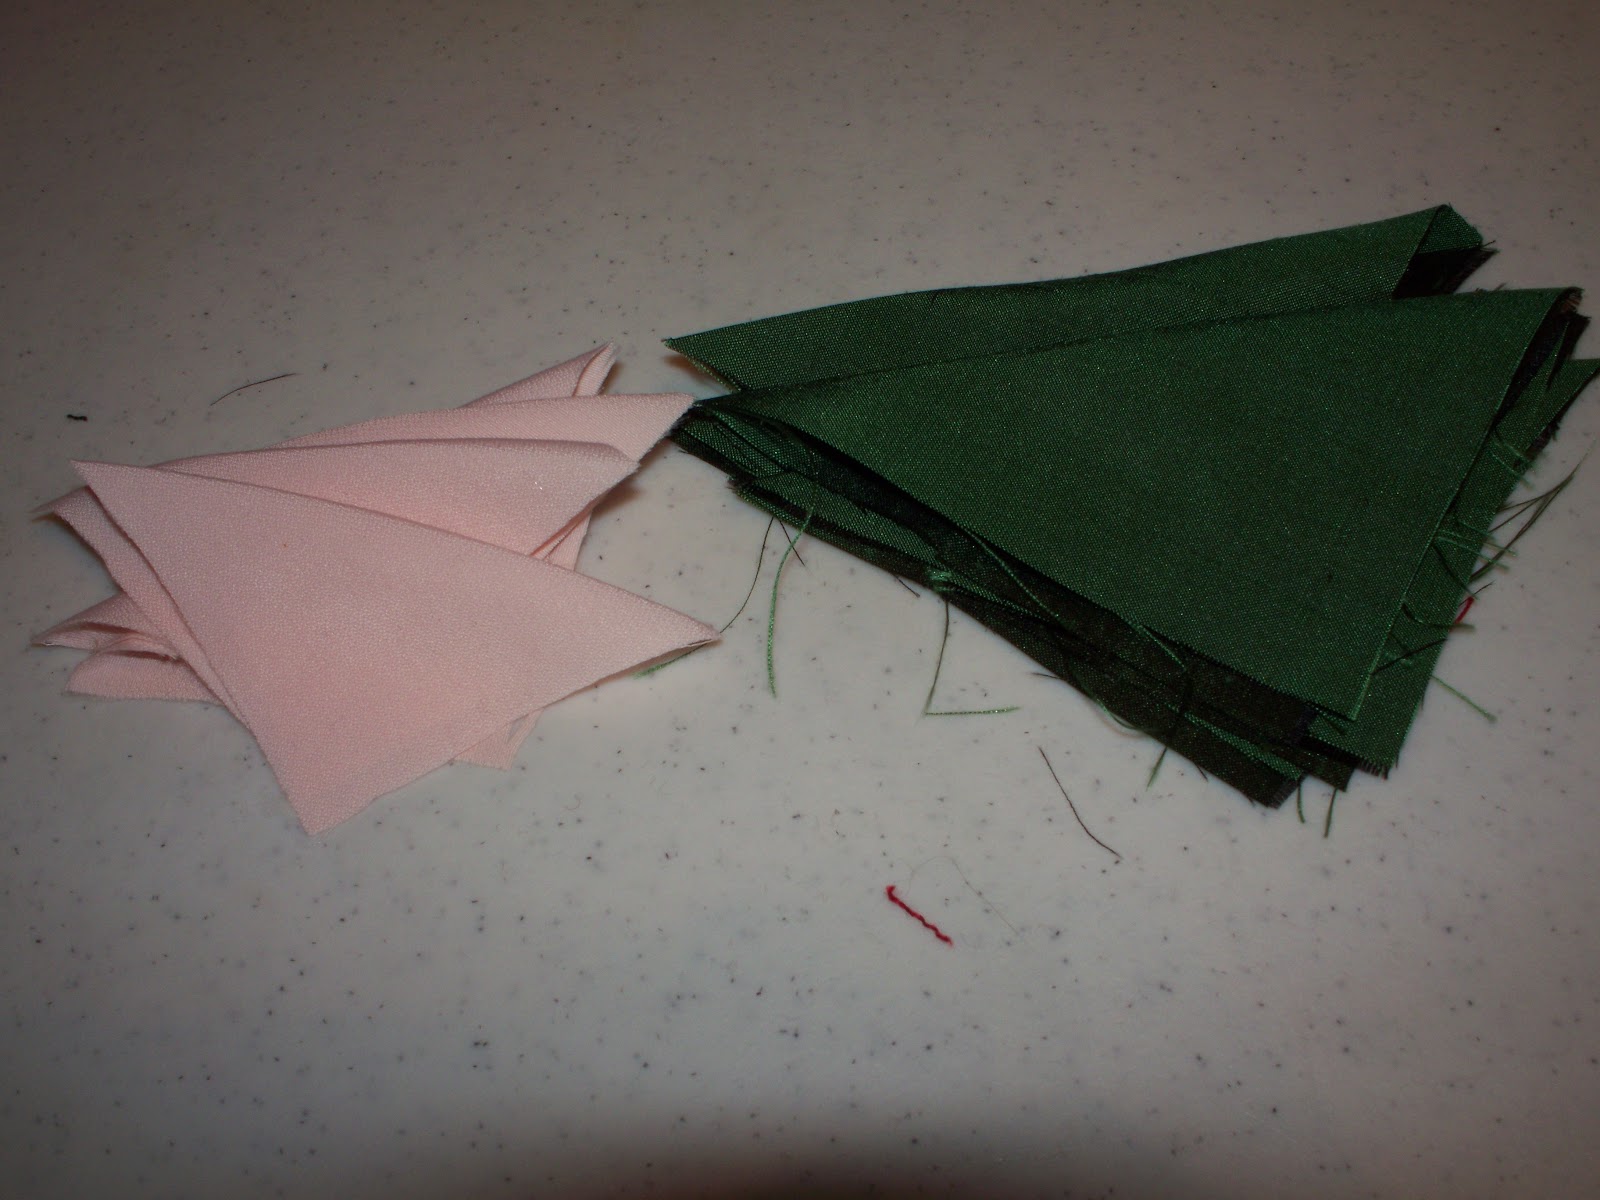 1. Fold and press each fabric square in half along the diagonal. You will end up with five triangles of each size.
 2. With a generously long piece of thread and needle, hand stitch a gathering stitch along the two open edges of one of the larger triangles.
3. Pull the thread to gather the edges. This will create your first petal. Repeat steps 2 and 3 for each of the five large triangles adding each one to the same piece of thread.

4. Once all five petals have been gathered connect the first and last petals together with a few hand stitches near the raw edges to form your flower.
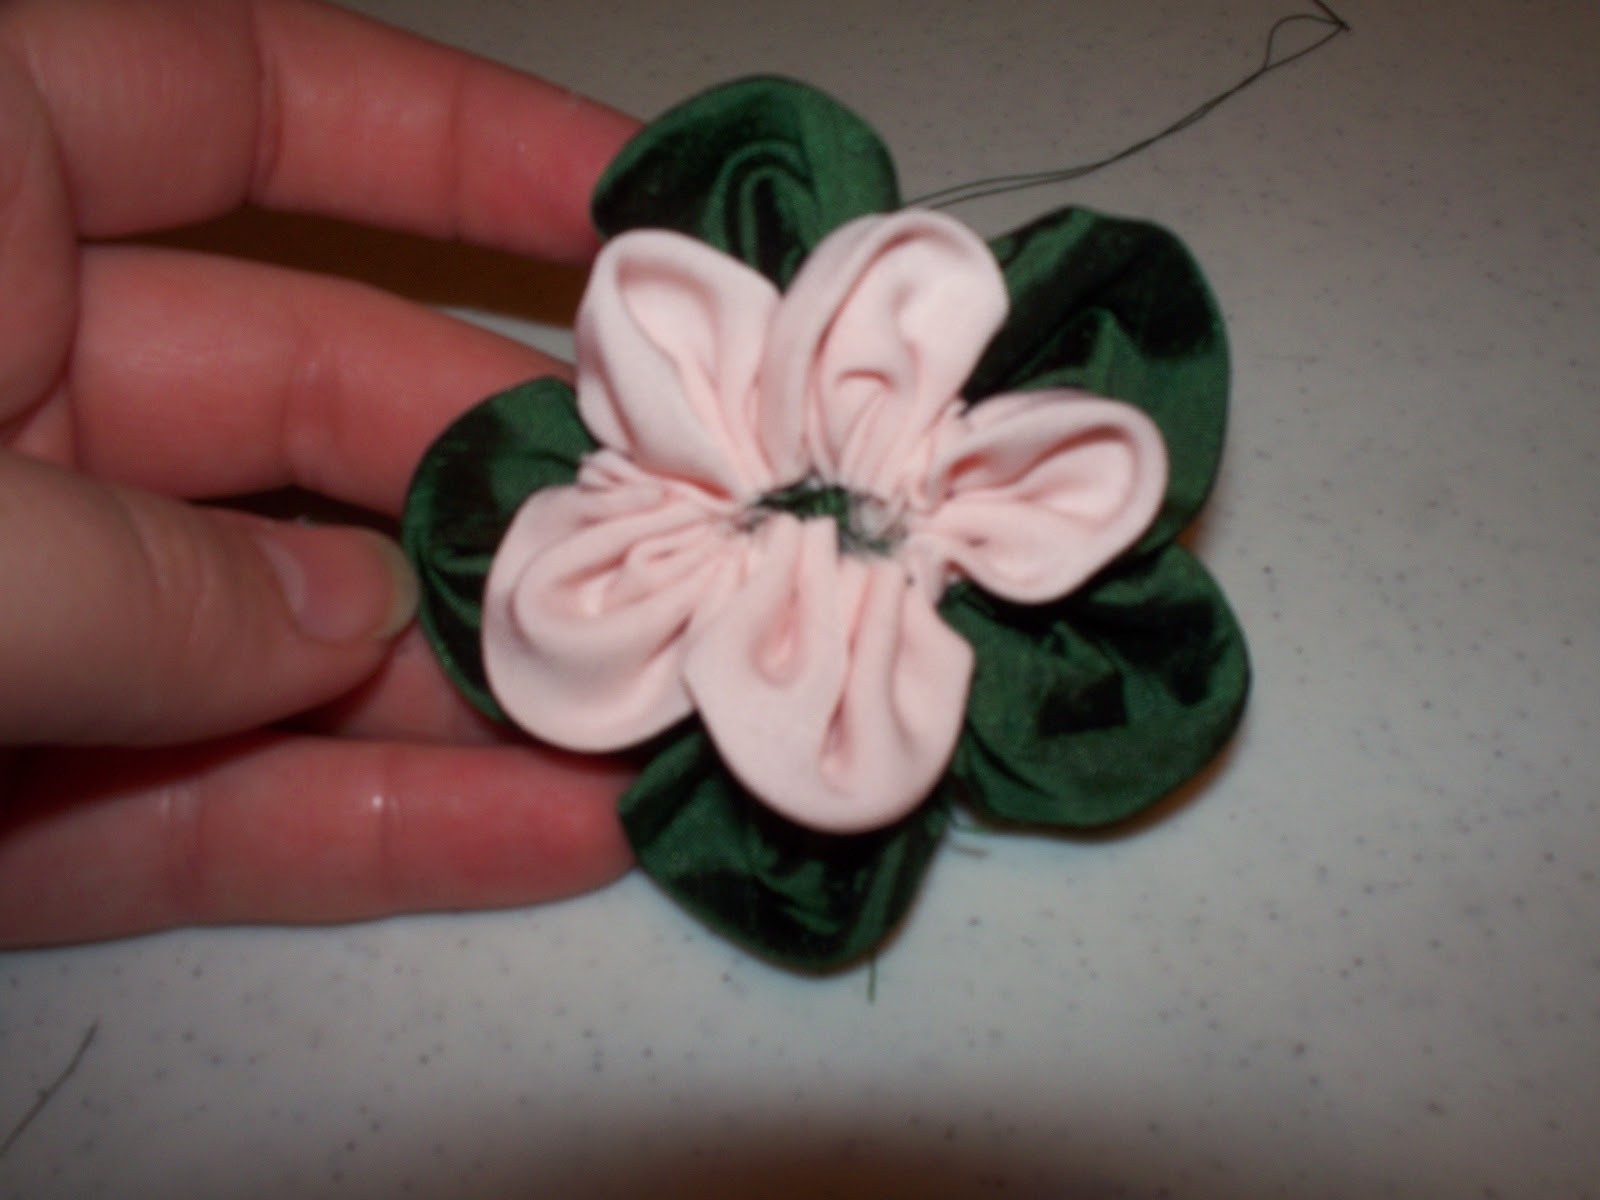
5. Still using the same thread repeat steps 2 through 4 for each of the five smaller petals as well. You can either align the petals so the smaller ones are directly on top of the larger ones or you can keep with the Tudor rose and offset them. Along the center of the flower stitch a few times to secure both layers together. Once I had both layers together I did Fray Check the centers of each circle to prevent fraying. This is optional though depending on preferences.

6. Next stitch your button/rhinestone to center of flower. For this one I used a metal shank button. For the one above I used a rhinestone that had two holes in it so I could stitch it securely. You can also use any type of button for this depending on how you want it to look.

7. After applying the button you will want to put a dot of glue on the backside in the center gap. This will help secure the button a little more and give the center some more stability. While that is drying apply the pin clasp to the felt circle. Glue your felt circle on top of the center back.
I hope you enjoyed this tutorial! The possibilities are endless when it comes to how you can make your flower look. The one at the beginning of this tutorial has both layers made from the same plaid with the rhinestone center. I love the idea of adding this to a Celtic costume for the ren faire, but it would also look great on a dress for holiday parties. The pink and green one is very spring like and I think will be cute on a trench coat or other springtime jacket. As always I would love to see pictures of your version! If you have any questions about this tutorial and its’ instructions please feel free to email me.